
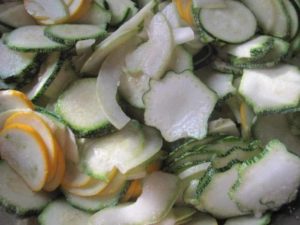
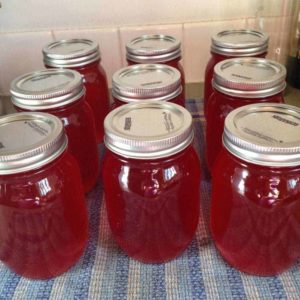
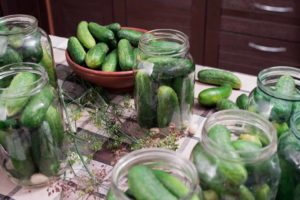
Canning is a great way to make sure that all your favorite crops are fresh, natural, and on hand. There’s an extra level of satisfaction when you spread your homemade jam over a thick piece of toast or bite into a crunchy dill pickle.
But the canning process does not start once your ingredients meet their new home, it starts at the sterilization stage. A bonus of home canning is knowing where your utensils have been and what they have been exposed to. But there is only so much that we can know, and therefore the responsibility of sterilizing canning jars falls on us.
After all, the base of a clean meal is a clean workspace.
How to Sterilize Canning Jars in a Microwave

These days, dishwashers and microwaves have come as far as to include settings at a high enough temperature to do a thorough sterilization which is perfect as it speeds up the process and allows you to get straight to your canning.
You simply put your jars at the highest temperature in either machine. For a microwave, you can put the canning jars in the microwave for 30 to 45 seconds.
How to Sterilize Canning Jars in an Oven
This heavy-duty method takes a little longer than other methods. Getting into a canning rhythm helps you know when the right time to put your jars in the oven is. If you put the canning jars in the oven about 30 minutes before you’re ready to can, between preparing the ingredients and the sterilization, the process becomes a part of the dance of canning.
- Heat the oven to 275 F/130 C. Any higher than that and your glass is at risk of shatter so be careful!
- Line each shelf with a double layer of newspaper, but leave the floor and walls of the oven bare, making sure that the newspaper is as far away from the flame of the oven as possible.
- Place jars on the lined shelf making sure none are touching. Leave them for 20 minutes max.
- Remove with thick heatproof gloves and place them on a heatproof mat.
Important!
Make sure that when you fill the canning jar with your ingredients that both of them are the same temperature. Otherwise, you risk shattering your canning jars.
How to Sterilize Canning Jars in Boiling Water
The boiling method is the most common and arguably the most thorough of the methods. It combines the heat of the oven with the fluid nature of water, getting into all the cracks.
What you’re going to do:
- Place your empty jars right-side-up (pop them in directly bottom first) in your empty pot over the stove. The stove does not need to be on yet, this just makes it easier than lugging from place to place once you have a heavy pot full of water and jugs.
- Fill the pot with average hot water until the water level rises to one inch over the top of the jars.
- Turn the heat of the stove to high and bring it to boil.
- Once you see the water is boiling, begin timing. Allow the jugs to sit in the boiling water according to the chart above, but for the very least ten minutes.
- After you turn off the heat the jugs can be left in the water for up to an hour.
- When you’re ready, remove the jugs with tongs and place on a clean surface.

How Long to Boil Canning Jars to Sterilize Them
When you’re boiling water, the height of your temperature is dependent on your physical altitude. Meaning, wherever you live will affect your water’s boiling point. The higher you are, the lower your boiling point will be. When sterilizing a jar the base time is ten minutes.
Depending on your altitude this can vary from anywhere between 1-5 minutes. When it comes to sterilization these are details that matter. It’s also this attention to detail that makes boiling the method of choice of most die-hard canners.
- Sea level to 1,000 ft: 10 minutes (base)
- 1,000 to 2,000 feet: 11 minutes
- 2,000 to 3,000 feet: 12 minutes
- 3,000 to 4,000 feet. 13 minutes
- 4,000 to 5,000 feet: 14 minutes
- 5,000 to 6,000 feet: 15 minutes
- 6,000 to 7,000 feet: 16 minutes
Whichever method you choose it’s always important to ensure that your space is clean itself. There’s no use sterilizing your jugs if you place them on an unclean surface or are handling them with bare hands. Always clean your space and utensils. Don’t forget your most constantly used utensils…your hands!
That’s it! You’re ready to pour your delicious jam into your nice clean canning jars. Don’t forget to allow them to cool a little before covering them with their lids.


Great Job Buddy!!