Herb spirals offer a very beautiful feature in your garden, and it’s a wonderful way to have all your culinary or medical herbs in one place. What makes herb spirals unique is their design to maximize space while creating different little microclimates which create extra heat or shade for different herb preferences.
Many herbs are of Mediterranean origin and prefer sandy soil and dry conditions. These herbs include oregano, and woody herbs like thyme or rosemary. Other herbs prefer cooler tempers, a little shade, and moist soil like cilantro or mints.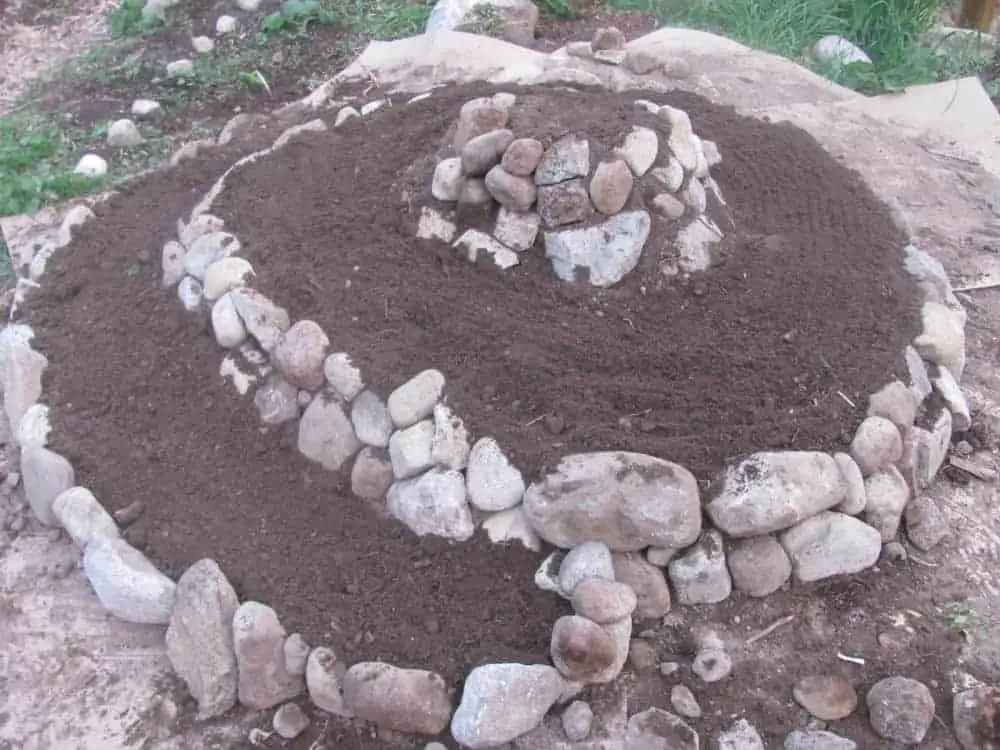
How to Build a Herb Spiral Step-by-Step
Here are some visual step-by-step instructions for building a herb spiral garden. We made a stone herb spiral, but you can also use bricks.
Clear Out the Weeds for the Herb Spiral Garden
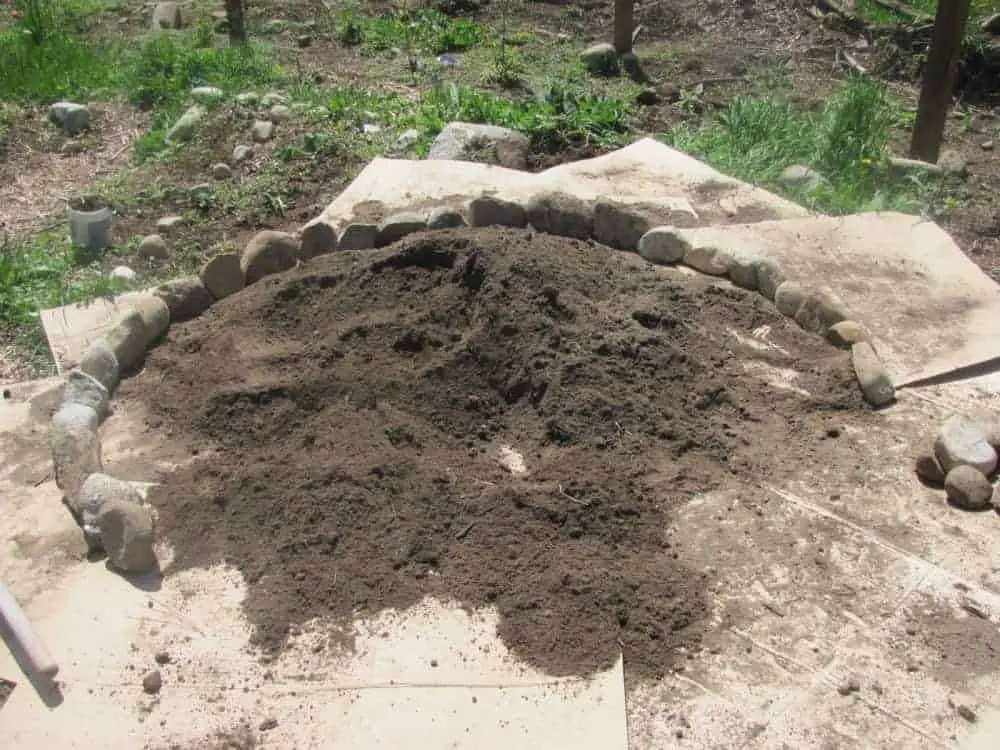
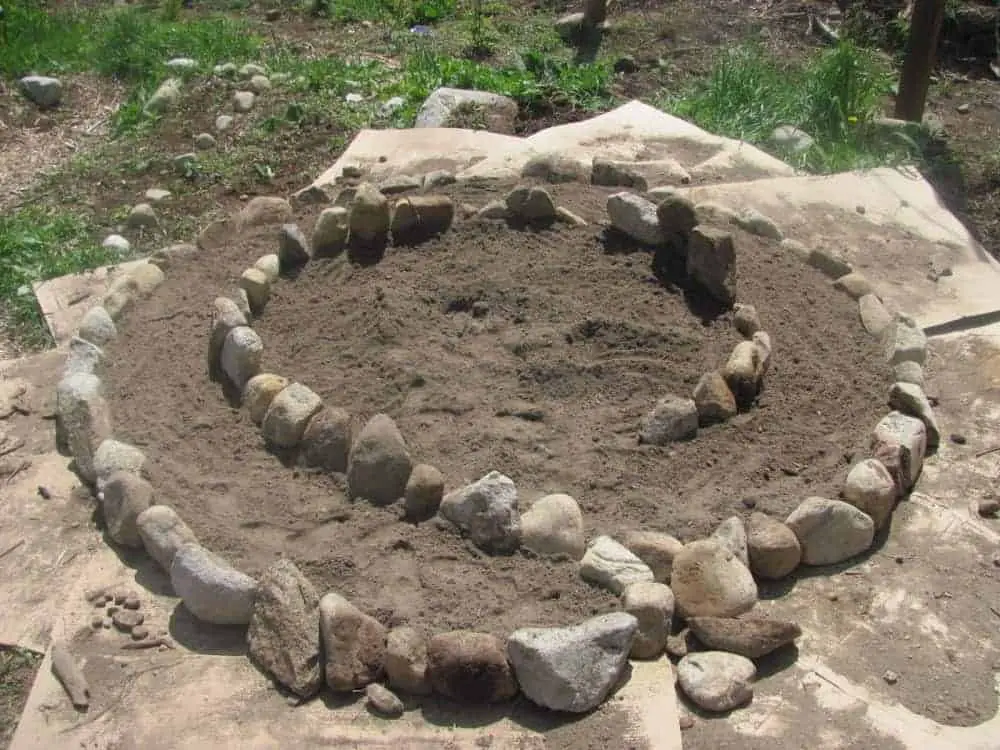
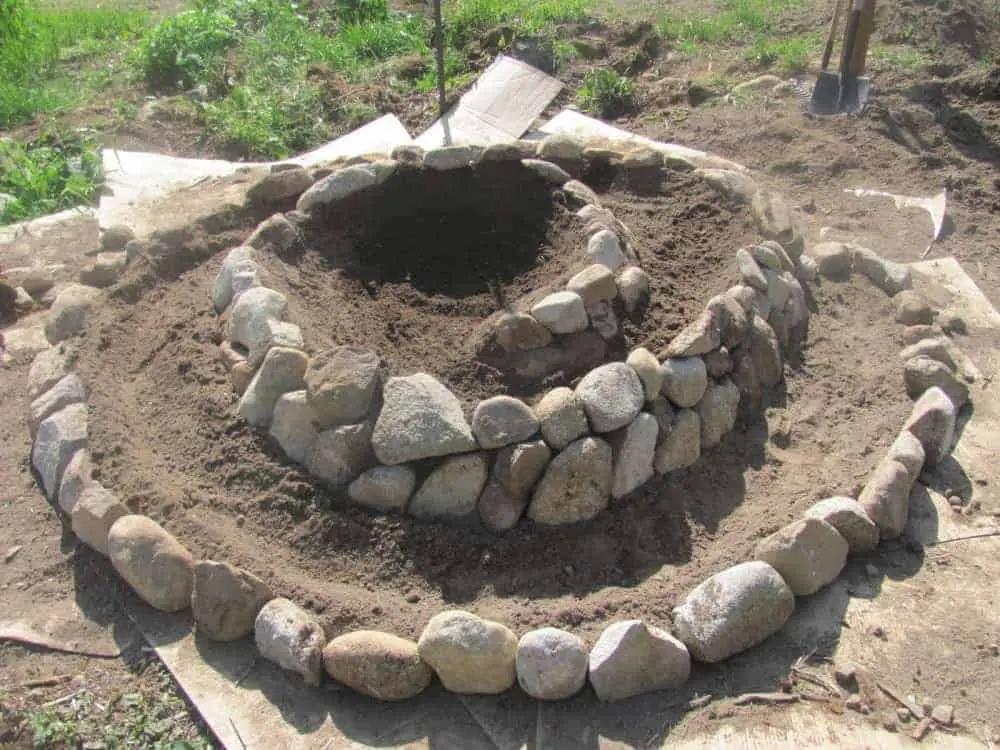
1. We first cleared out the weeds with a natural weed killer and laid down cardboard with enough overlap to suppress weeds in the area surrounding the herb spiral.
Some people wet the cardboard as it breaks down faster but we didn’t bother. Then you want to use stones (or some people use bricks) and start making your shape by constructing the outer wall first. We made ours with a 1-meter distance from the center of the spiral to the outer wall. Some people also choose to just pile a huge mound of soil and then wedge the rocks into it.
Make an Outline for your Herb Spiral Garden
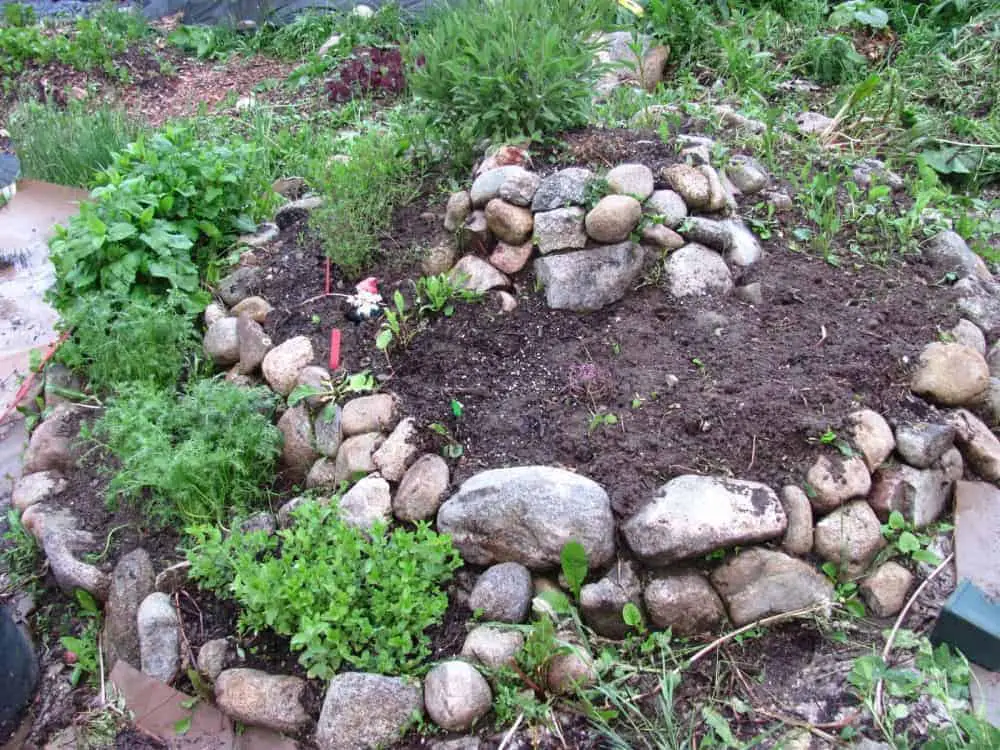
2. Then we made the outline shape of the spiral using the rocks and adjusted it if we needed to while filling it in with soil as we went. We chose slightly sandier soil as were growing a lot of Mediterranean herbs in the top layers.
Add Soil to Your Stone Herb Spiral
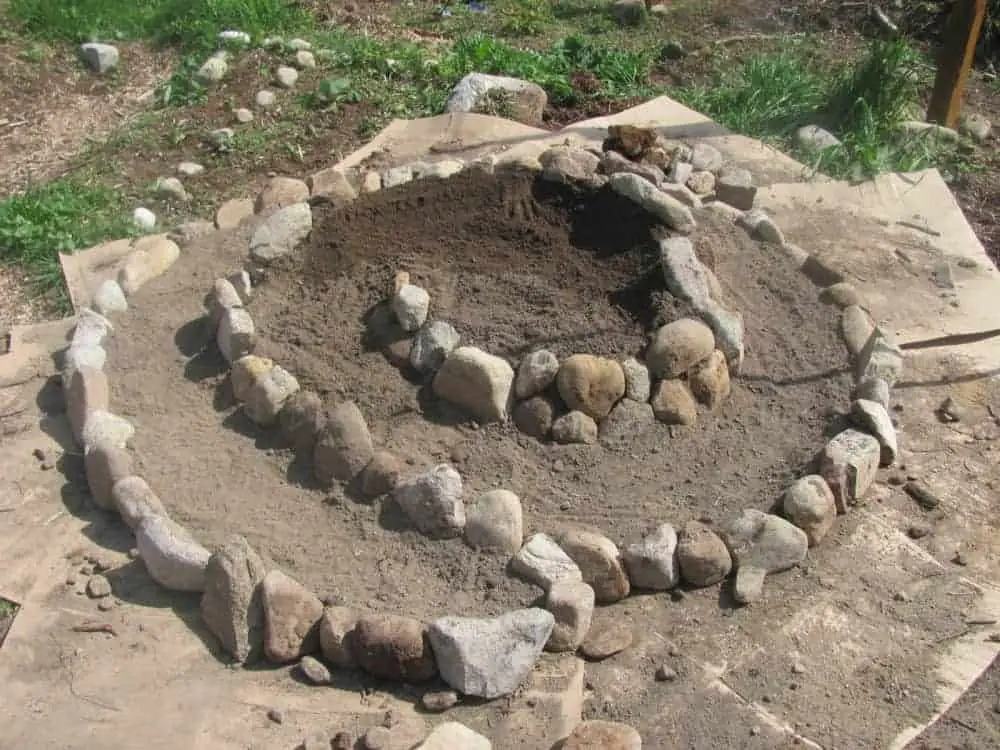
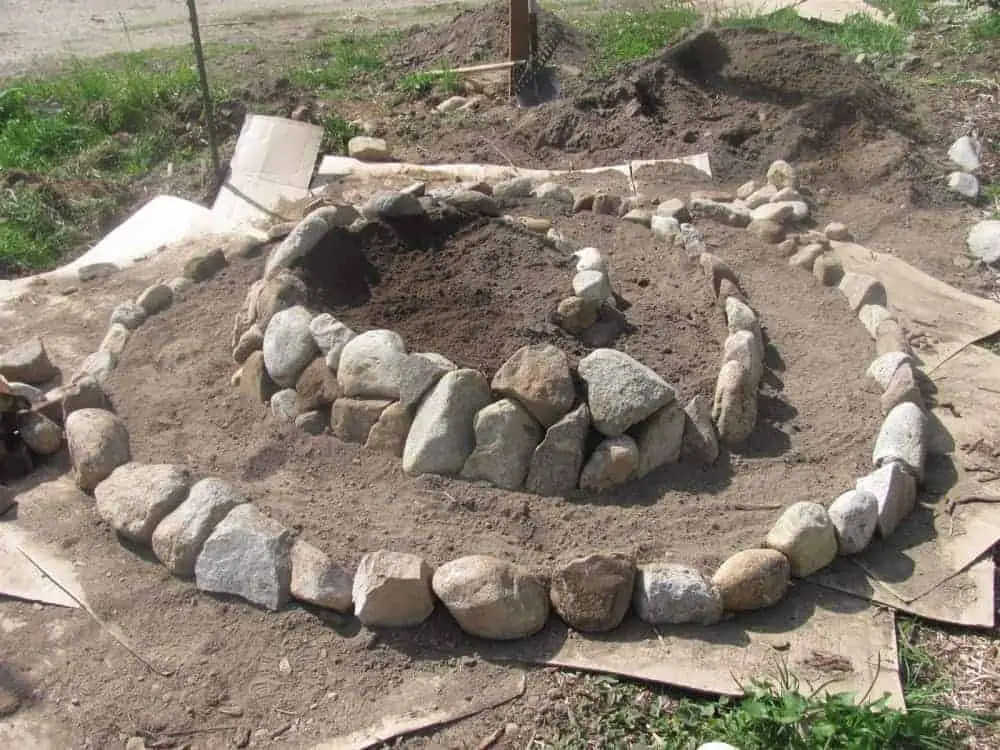
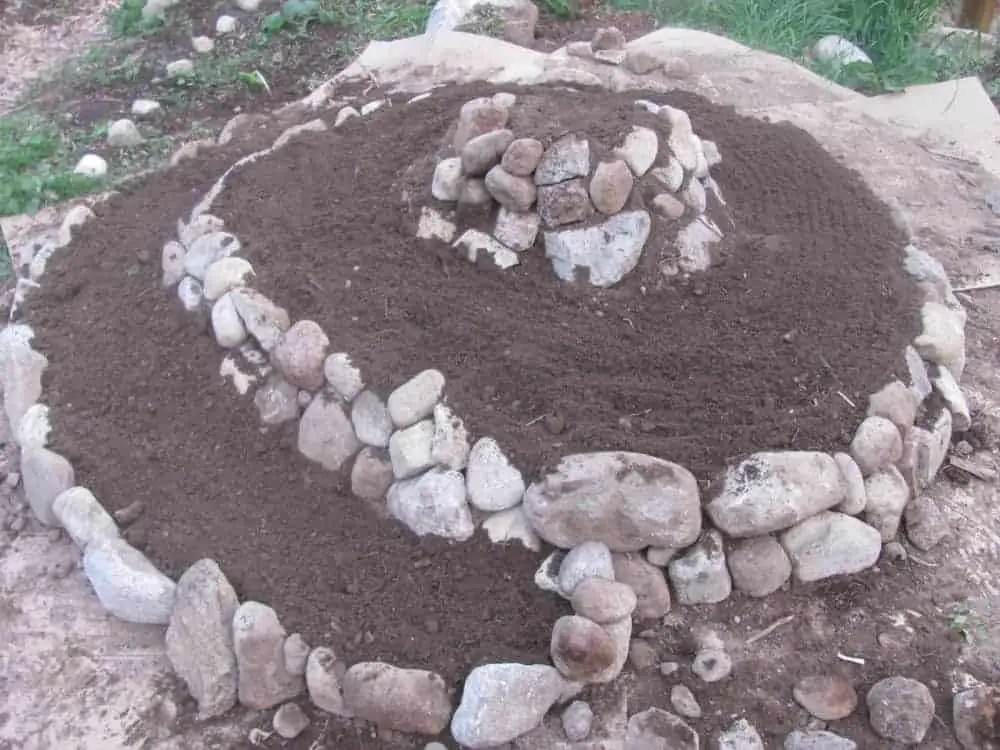
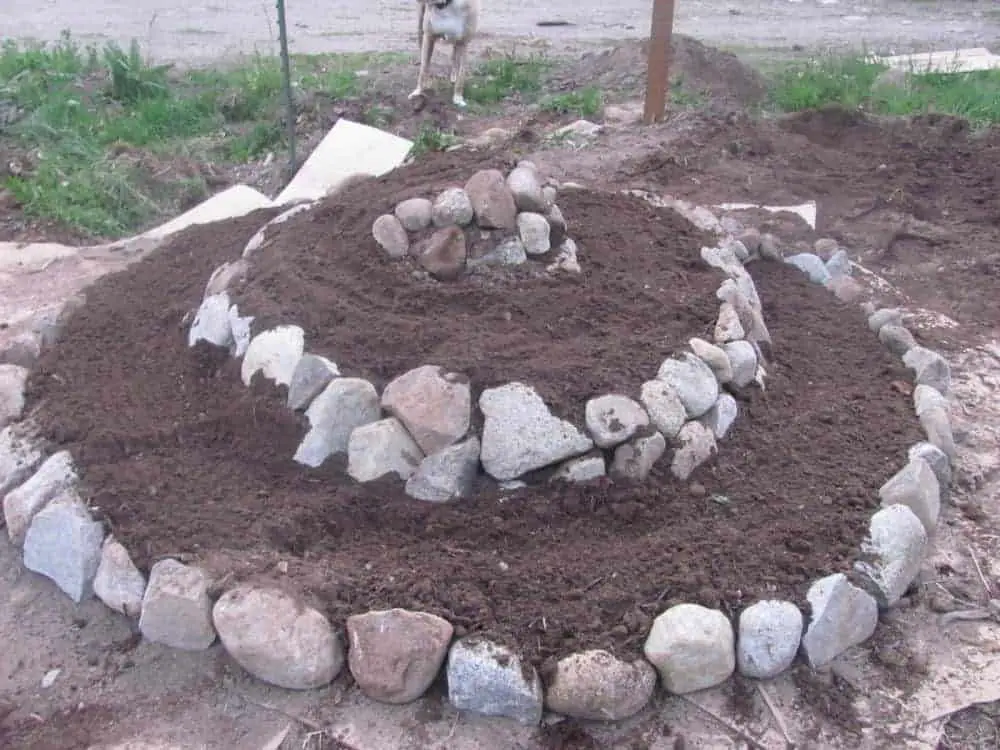
3. Once you have the first layer of rocks you can add more dirt and then wedge more rocks to build a double rock wall.
4. Keep on filling the spiral with dirt until it’s level with the rocks. The uppermost top has a 3 layered rock wall to give the herb spiral more height.
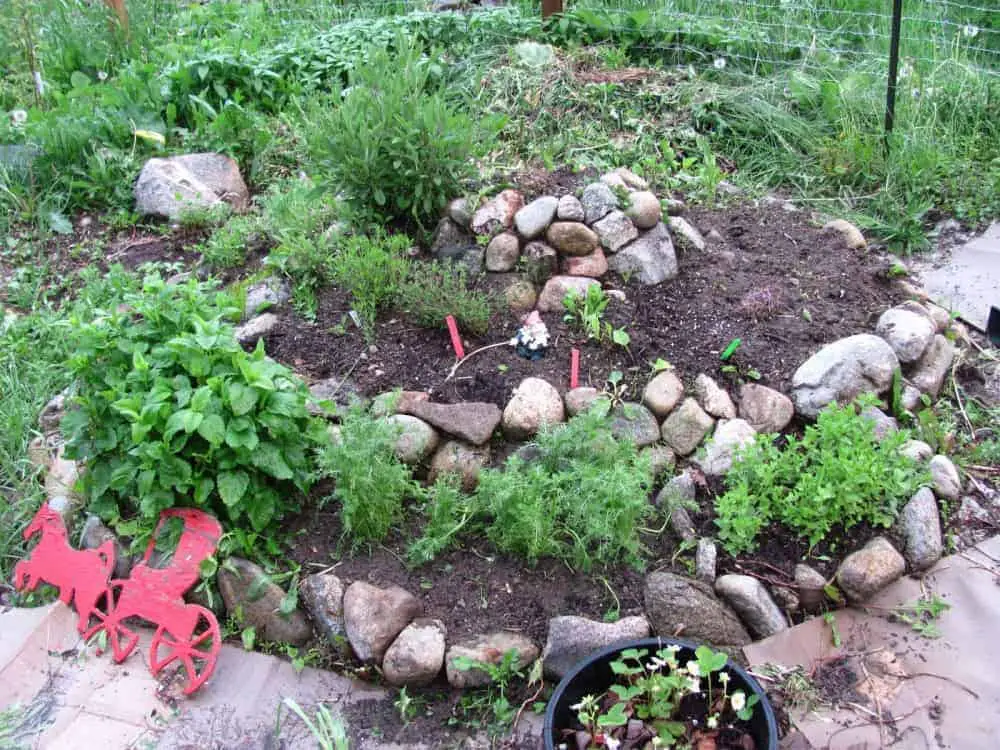
Here’s what the herb spiral looked like the 2nd year.
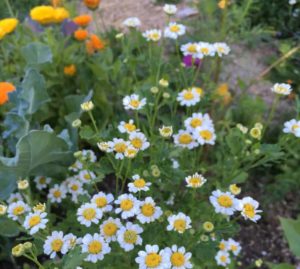
Not all the herbs were perennials. Some of them self-sowed like the chamomile (and even ended up spilling all over the place outside the herb spiral). I’ve direct seed annual herbs like basil & cinnamon basil, dill and cilantro in the ‘blanks’ that you see here. Pruning the basil helps maintain the lovely appearance of the herb spiral, and the same goes for pruning dill. I also like to dry basil so I can use the basil for longer periods of time.
The herb spiral 3 years later
As I mentioned already, you’re not supposed to plant mint in a herb spiral as it’s very invasive. I did it because it’s close to the fence and I wanted it to spread in that area instead of wild weeds. Realistically though, it’s not the best herb for a herb spiral.
The #1 thing I will say is that rock gardens are that they need frequent weeding
There are both pros and cons of building rock garden beds. Because most herb spirals are built with rocks, tiny weed seeds can fall into the cracks and germinate making it hard to weed.
Here are some photos of our herb spiral 3 years later.
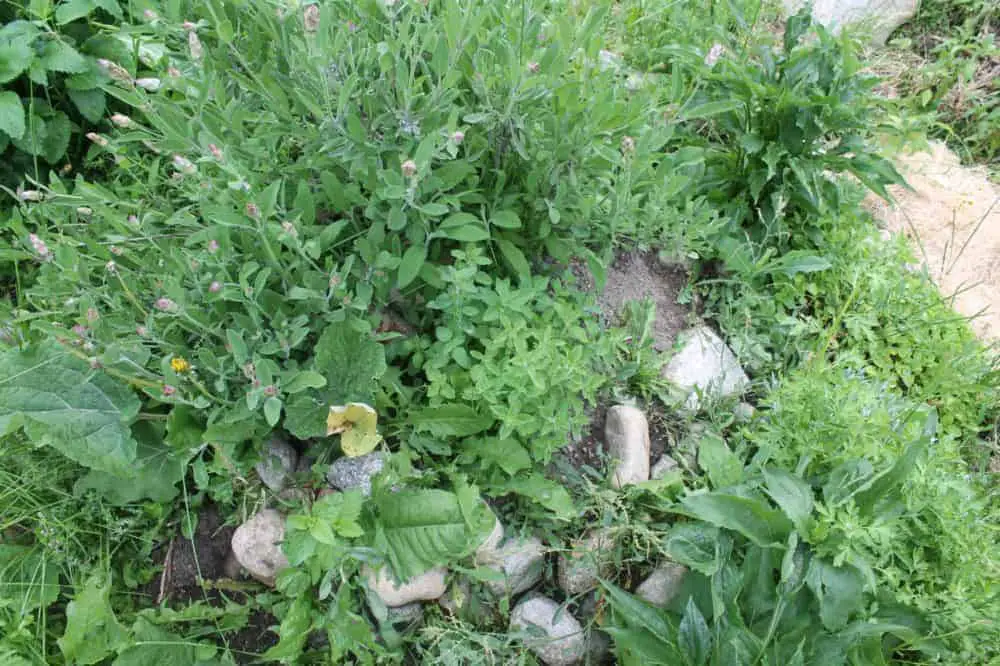
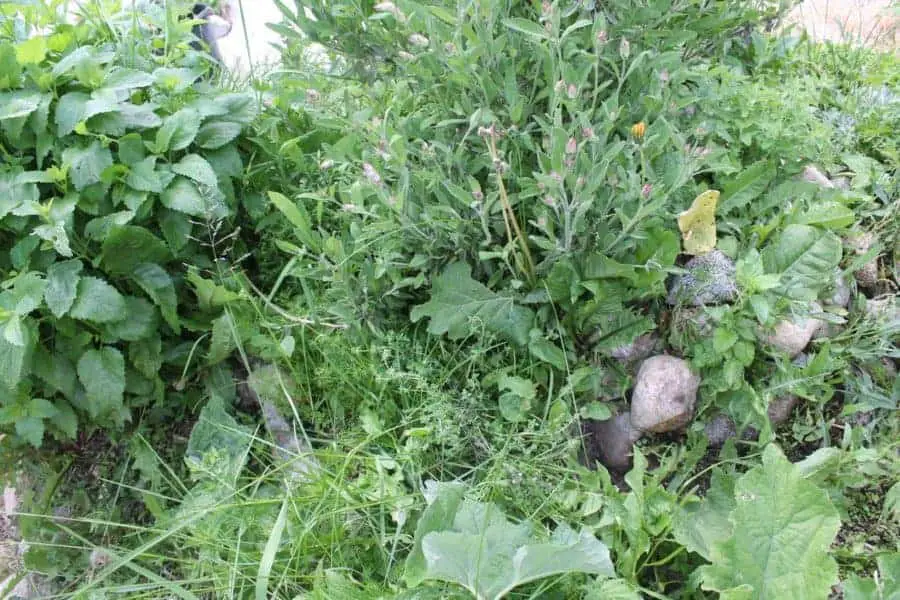
I will say that we lived on a mountainside where the forest was growing into our garden, so the weed battles were epic and we had to frequently kill weeds. We often used an Epsom salt weed killer recipe to help is in our weed battles.
I would definitely build a herb spiral again, but choose better herbs that are less invasive and weed more frequently.
*Edited Note*
This was a popular DIY project from my old site Little Mountain Haven. We plan on building another herb spiral in the future. At the end of this post, I also show you what the herb spiral looked like in the 2nd and 3rd year. Many DIY posts fail to show you the long term results, only the pretty first year! I share the mistakes we made.



Awesome!
What herbs did you end up planting where in the spiral?
At first we had a rosemary at the top but we changed it to oregano. Sage, thyme, winter savoury, echinacea, feverfew, lemon balm (too invasive), chamomille (self-sowed out of the herb spiral). I have a few blanks that I was planting basil in.
We’ve had the herb spiral for 5 years now and I would have so say because our family is now at the point of preserving lots of herbs for both medicinal and culinary purposes that the herb spiral is too small for us. It’s the perfect project for an urban backyard or if you’re happy growing herbs on a smaller scale 🙂
An herb spiral.
👌
I love this idea, but is there much maintenance to the actual rock spiral? We live in Pennsylvania and foresee having to redo the spiral every spring due to the winter frost.
I feel that weeding in between the rocks is the most challenging part. The frosts are ok for many of the herbs, it depends on what you plant. We get months of snow and many hard frosts here.
Awesome thank you.
I live in zone 8a and my rosemary is evergreen. Lemon balm Is in the mint family!
Hi, how good of you to not only show how it’s done, but also to update it over a few years. I’m about to follow your lead; my spiral is outside the front door to the house, so it’s highly visible off the main entry. A couple of questions: do you think putting the cardboard down was worth the effort? Also, I’m not growing medicinal herbs at this time, just herbs for cooking. I see you originally had rosemary at the top and later changed that, maybe due to it being prolific & woody? Do you have any other feedback about where in the spiral certain herbs should have ended up due to being prolific? Any suggestions would be great for this newbie. We have marjoram, sage, thyme, rosemary, oregano, parsley, cilantro set to go, plus some small, trailing flowers for color. Huge thanks for your very kind lead! I’m in Zone 9B.