Growing microgreens indoors is a great way to get your gardening fix during the winter months while harvesting nutritious superfoods. It’s also great for those that don’t have the space or backyard to grow a garden.
What Are Microgreens?
Microgreens are sprouted seeds that are very young, and are harvested before the ‘baby salad greens’ phase. Similar to sprouts, the main difference is that they are grown in soil and are harvested at the two leaf stage. Sprouts don’t have any leaves yet.
Microgreens are highly nutritious and fast-growing which makes them a perfect indoor gardening crop.
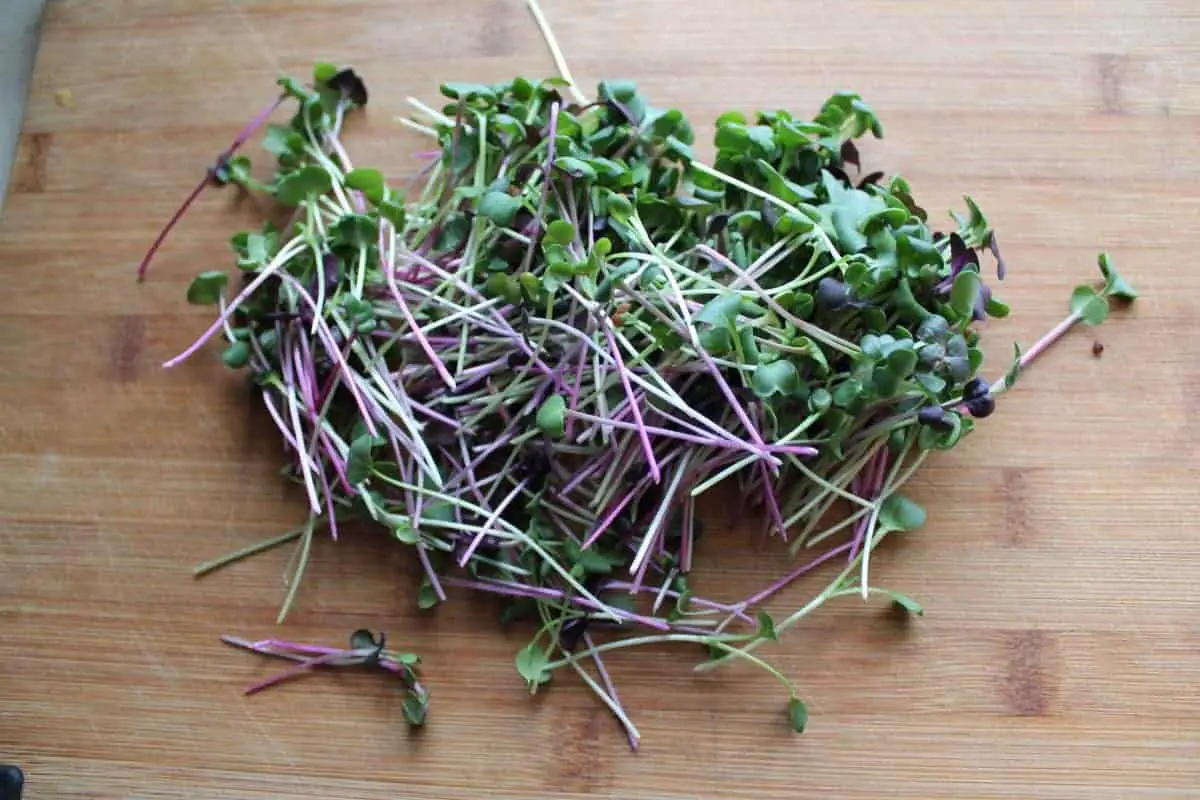
Most microgreens are ready in 1-3 weeks depending on the variety. If you let your microgreens keep growing you’ll have indoor baby greens, but you will need to thin them out first because microgreens don’t require as much root space.
Microgreens Growing Kits and Seeds
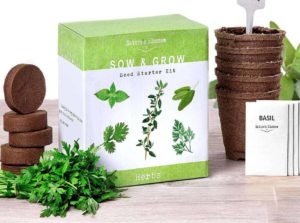
Many seed companies carry microgreen seeds in their catalogs. The brand I’ve often used is Mumms sprouting seeds, another good brand are from Mountain Valley Seed Company. You can also buy a microgreen kit and many of the inexpensive sprouting systems which come with seeds and a beginner guide.
Grow Microgreens Indoor Step-by-Step
We eat a lot of microgreens, so our family grows them in large trays now. You can also use one of the many types of sprouting systems.
- Fill a seeding tray with soil, make sure you have one that has drainage holes and place it inside another seeding tray that is solid without the drainage.
- Fill the tray up with seed starter or sterilized soil. I also add worm castings for a seedling nutrient boost.
- Lightly scatter your seeds in the soil and barely cover the seeds with more soil. I place the trays under our grow lights to warm up the soil before sowing.
- Water lightly and check on them daily. Many people make the mistake of overwatering seedlings so be sure the soil is damp but not too dry or wet.
- Harvest after about 1-3 weeks! How easy was that?
Growing Microgreens Indoors Under Lights
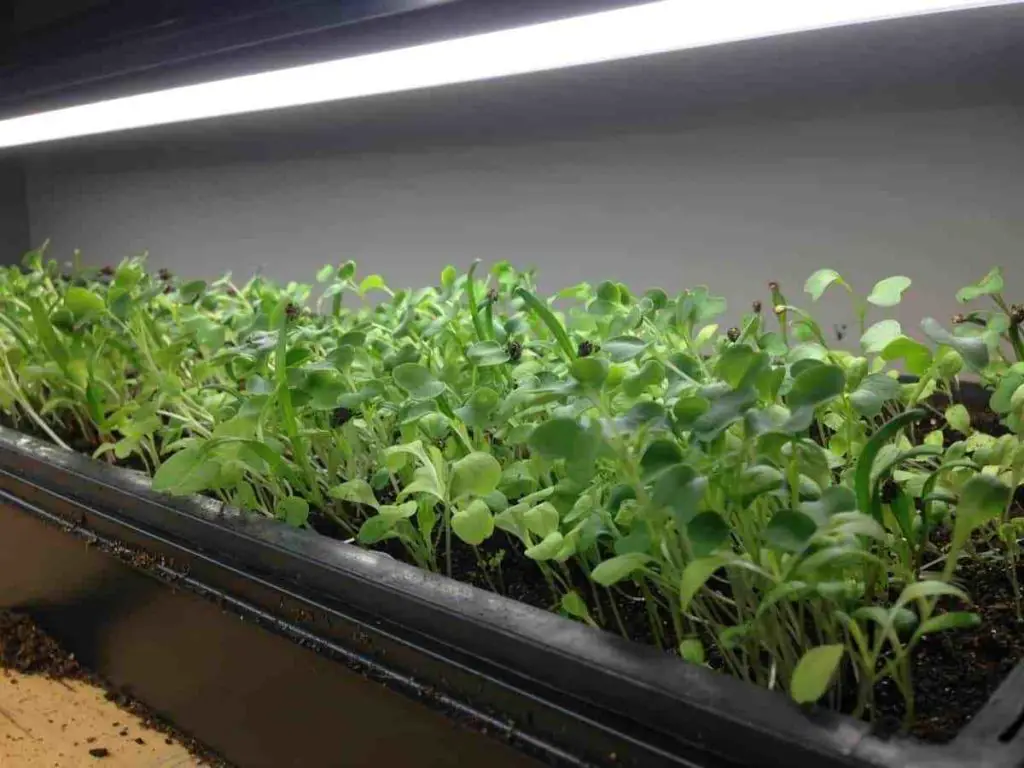
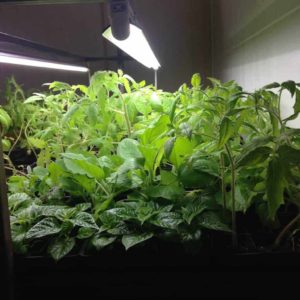
I already have an indoor greenhouse grow light set up (we’re using the Sunblaster ones at the moment). There is an excellent article by microgreen garden about what kind of light microgreens need.
Using Thinned Out Seedlings as Microgreens
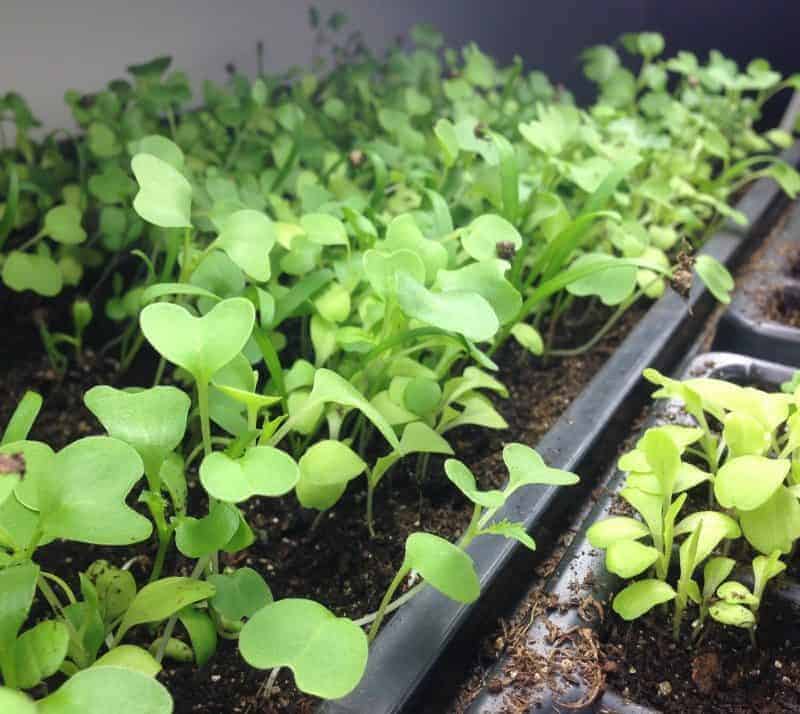
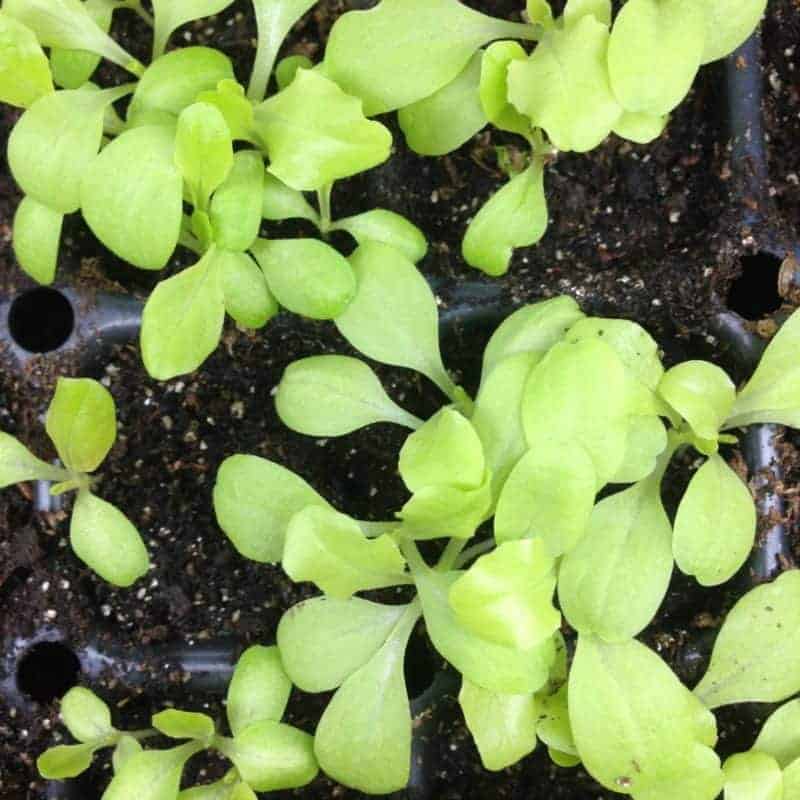
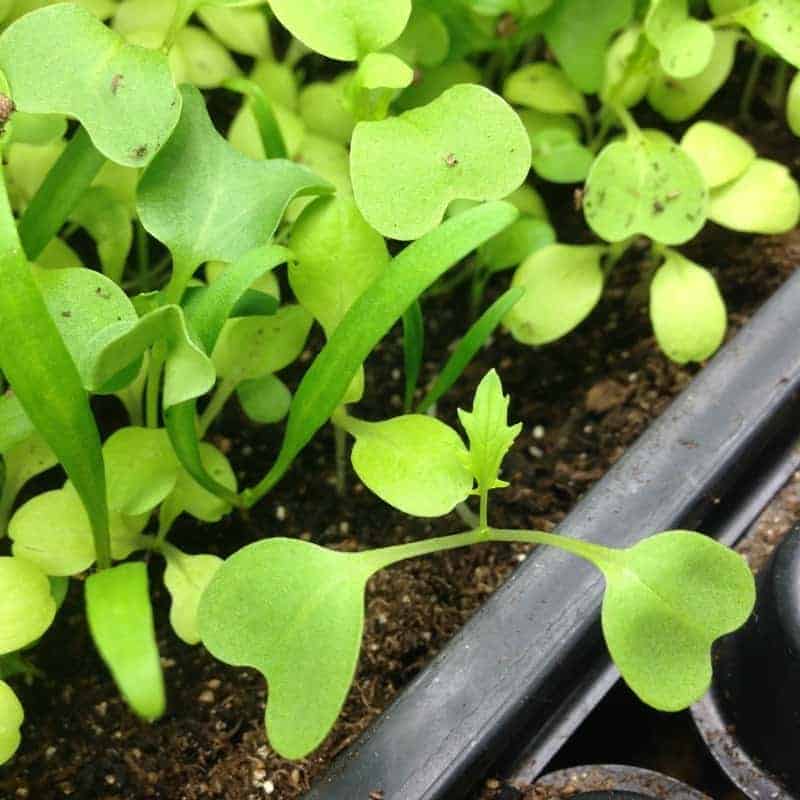
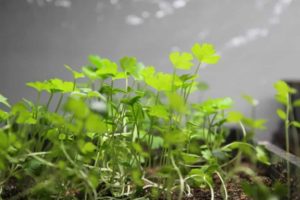
An often overlooked aspect of eating microgreens is using some of your thinned out seedlings and harvesting those. In the above photo you can see I’m growing baby lettuce transplants to go into the greenhouse for early spring transplanting. As I won’t be re-potting all of them I can use many of them as microgreens.
Growing Microgreens at Home – Watch Your Cats!
If you have a cat inside your home be warned! They like to jump up and use the ‘tray’ and a litter box ‘tray’. I was devastated the first time it happened and hated throwing soil and greens away but once a cat has ‘done its business’ you have to.
Conclusion
If you’re getting restless in the winter, are tight on space or wish for easy nutritious greens then growing microgreens indoors is a fantastic way to get some indoor gardening in! If you’re interested in growing more superfoods, grow indoor bean sprouts!



Question- Can we reuse the soil after harvesting the microgreens?
I’m definitely going to try this. I will first start with some mustard seeds. As I live in an apartment, this is a great way to grow our own food. Lovely. Thanks very much for the share.