
Brick edging provides a lawn with a neat and well-manicured finish. Bricks are among the strongest building materials, which means that a brick lawn edger can hold for many years. Also, bricks are weather resistant, meaning a brick edging can withstand hot summer weather and bitter, cold winter weather.
Installing brick edging is an easy task, usually requiring about an hour to complete. The average cost of brick edging materials is $3.35 per square foot of terrain, which means the cost of materials to install brick edging for a 100-square-foot space would be $335.
Overview of Bricks for Garden Edging
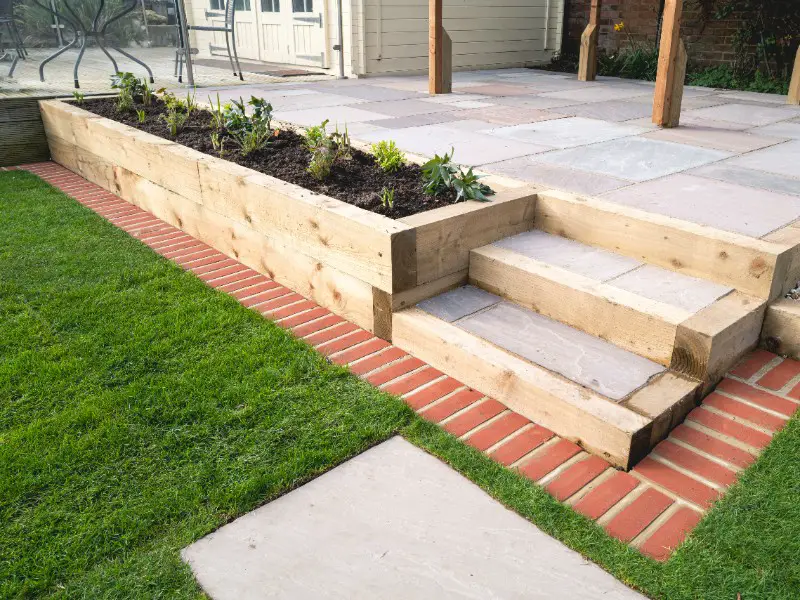
Artfully-arranged bricks create an attractive border between grass and garden. But before installing the brick edging, first determine the number of bricks needed for the project.
Follow these steps to determine the number of bricks you need to order:
- Lay a rope along the border of the garden, following all the corners or curves, to measure the perimeter of the garden
- Use tape to mark the rope where it reaches the end of the bed
- Use a tape measure to measure the rope to the marked point
- To calculate the number of bricks required, first divide the length of the rope (in inches) by the width of the bricks you’ll be using (in inches). For instance, 268 inches (garden perimeter) ÷ 4 inches (the width of the brick) = 67 bricks
- To provide a safety margin, multiply the number of bricks calculated by 10 percent and add that number to the amount of bricks to order. So, multiply 67 x 0.10 = 6.7. Then add 67 + 6.7 = approximately 74 bricks
Some places to order quality bricks include:
Brickwork is easier than most people think, and it’s also fun and relaxing. But before beginning the installation process, remember that bricks have a cuboid shape, which may complicate smooth installation of a brick boundary, especially around curves. Fortunately, bricks can be cut with a saw to fit curves or tight spaces.
Materials & Tools Needed for Brick Edging
To install brick edging on lawns, you will need the following tools:
- Measuring tape
- Masking tape
- Rope
- Masonry pencil
- Circular saw
- Water bottle
- Spade
- Tarp
- Nail
- Garden hoe
- Large wheelbarrow
- Garden hose
- Rubber mallet
- Stone dust
- Level
- Hand trowel
- Shovel
- Paver base
- Polymeric sand
- Portland cement
How to Lay Bricks for Landscaping Edging
Place the Bricks
Installing brick edging is easy. Start by placing the bricks close to one another at the edge of the bed and against the grass line. Leave gaps of about 10 millimeters in between each brick to accommodate the sand filler later.
Identify the Curves
When placing the bricks around soft curves, leave larger spaces of approximately 6 to 15 millimeters due to the radial arrangement. However, for tight curves, identify the peak of the curve and leave triangular gaps of about half the size of a brick. The triangular gaps can be filled using keystone bricks.
To make fitting keystone bricks, set a new brick on top of the gap and use the masonry pencil to mark where it overlaps the bricks beneath. Mark the opposite side of the brick as well and extend the marks onto the brick’s face to form cut lines.
Cut the Bricks
After marking the bricks, place the circular saw with a segmented diamond blade on the cut lines. Adjust the blade, if necessary, to ensure it cuts through the brick in just one pass. Keep a water bottle close and puncture it at the bottom using a nail. Use the bottle to trickle water onto the brick to minimize dust during the cutting process. After cutting the brick, place the keystone in the triangular gap to confirm that it fits. If it doesn’t fit, repeat the cutting process.
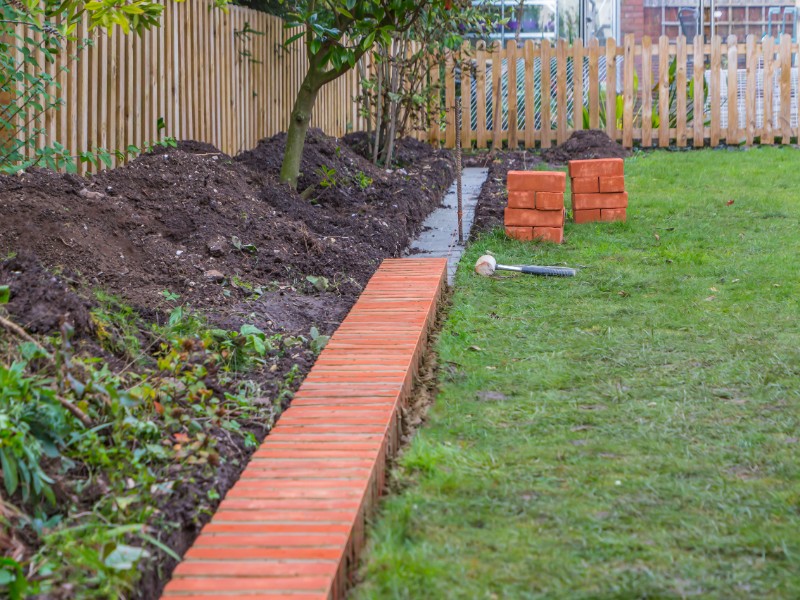
Dig a Small Trench
Before digging the trench, use the bricks as a reference to determine how wide the trench should be. Place a tarp nearby to hold dug up soil. Move the bricks away and use the spade to dig the trench. Dig until the color of the soil changes, which indicates that the next layer of firm soil, beneath the topsoil, has been reached. Digging through the topsoil is important to help protect the bricks during the cold winter weather.
Use the tape measure to measure the depth of the trench. Ideally, the trench should be about 6 inches deep, which will accommodate a 2–3-inch paver base layer and 1 inch of stone dust. Use the garden hoe to remove the excess soil from the trench.
Pour the Paver Base
After digging and removing the soil, place a paver base on the bottom of the trench. Pack the paver base evenly in the trench and continue adding until it covers 2 to 3 inches of the trench. However, if the trench is deeper than 6 inches, continue adding the paver base until the depth remaining is equal to 1 inch, to accommodate the stone dust plus the thickness of a brick. Use the hand tamper to smash the paver base down evenly.
Mix the Stone Dust and Portland Cement
Mix stone dust with Portland cement in the large wheelbarrow. Generally, mix approximately six shovelfuls of stone dust for every one shovelful of Portland cement. Add water to the mix until it’s damp. Shovel the mixture into the trench and use the hand trowel to spread the mixture evenly on top of the paver base.
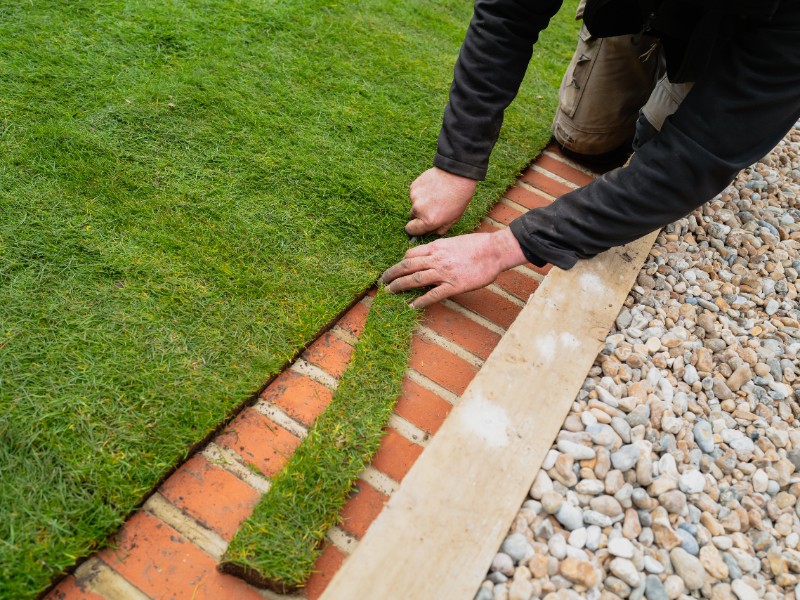
Lay the Bricks
Place the bricks carefully back into their original position in the trench, but on top of the paver base and stone dust. Use the rubber mallet to tap the bricks firmly into place and use the level to ensure that each brick is level and flush with both the ground and the other bricks. Remember to also place the keystones at the curves and maintain a consistent gap between the bricks — just enough to accommodate the polymeric sand.
Add Polymeric Sand
Fill the gaps between the bricks with polymeric sand. Then sweep off any excess sand with a brush to prevent staining the bricks. Use the hose to gently rinse the surface. The hose water will also dampen and activate the polymeric sand, ensuring that the bricks remain locked in place for many years to come.


Nice Overview of Bricks. Some of these links are amazing specially Brick America. Keep it up.
Thank you, excellent information.