
Watching that little seed grow into a large plant is one of the rewarding aspects of home gardening. Sowing your seeds can sometimes be challenging though, and babying a seed into a transplant takes a little practice.
If you’d like to plant a garden then seed starting 101 will help you grow your own transplants.
Seed starting is very rewarding, here are some tips so you can grow healthy garden plants.
Here are some seed starting tips for how to plant seeds.
Seed Starting Methods
- Direct sowing
- Growing your transplants
- Buying transplants from your local garden center/nursery
There are many benefits to growing your own transplants; it saves money while gardening ($2-3 for a pack of seeds versus $2-3 for each transplant). There can be some start up costs though with pots, trays and starter soil. Some gardeners even invest into a grow light set up, which makes it not cheaper but great in the long run.
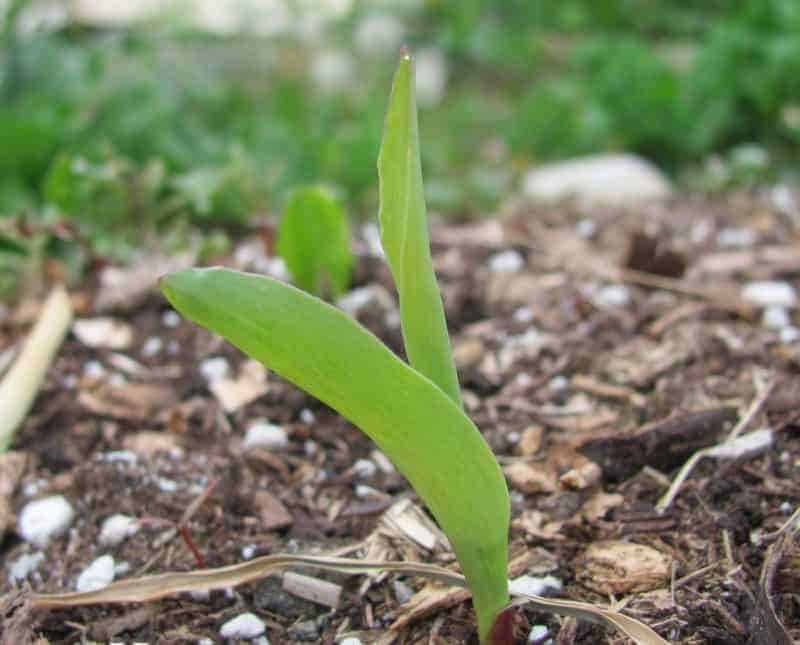
It’s cheaper still to direct seed, however for time and space efficiency, it helps to grow transplants for many vegetables and fruits because otherwise they would take too long in your garden. For example if you sowed broccoli into your garden you’d be waiting 6-8 weeks for your broccoli to grow to the same size as a transplant grown inside then moved to the garden.
Seed Starting Supplies
- Seed trays with drainage holes and without. If you’re using soil blocks or directly into the tray you’ll want that tray to have drainage holes and another without them so water doesn’t get all over your table. If you have pots you just need the trays with no holes.
- Pots OR things like the potmaker (uses newspaper to make pots) OR a seed block maker (expensive to buy but again, this tool will last you years and has the benefit of not washing plastic pots covered with spiders every season/replacing the cracked ones).
- Soil: Seed Starter Mix
- Spray bottle and/or watering can
- Optional: Grow lights (I use Sunblaster) and an indoor greenhouse or shelving unit to put a grow light on each layer.
- Large table with a south facing window if no grow lights
- Optional: heating mats for under the seed trays. Although they warm up the soil they are a costly addition and I’ve found that seeds sown inside germinate quite rapidly anyways.
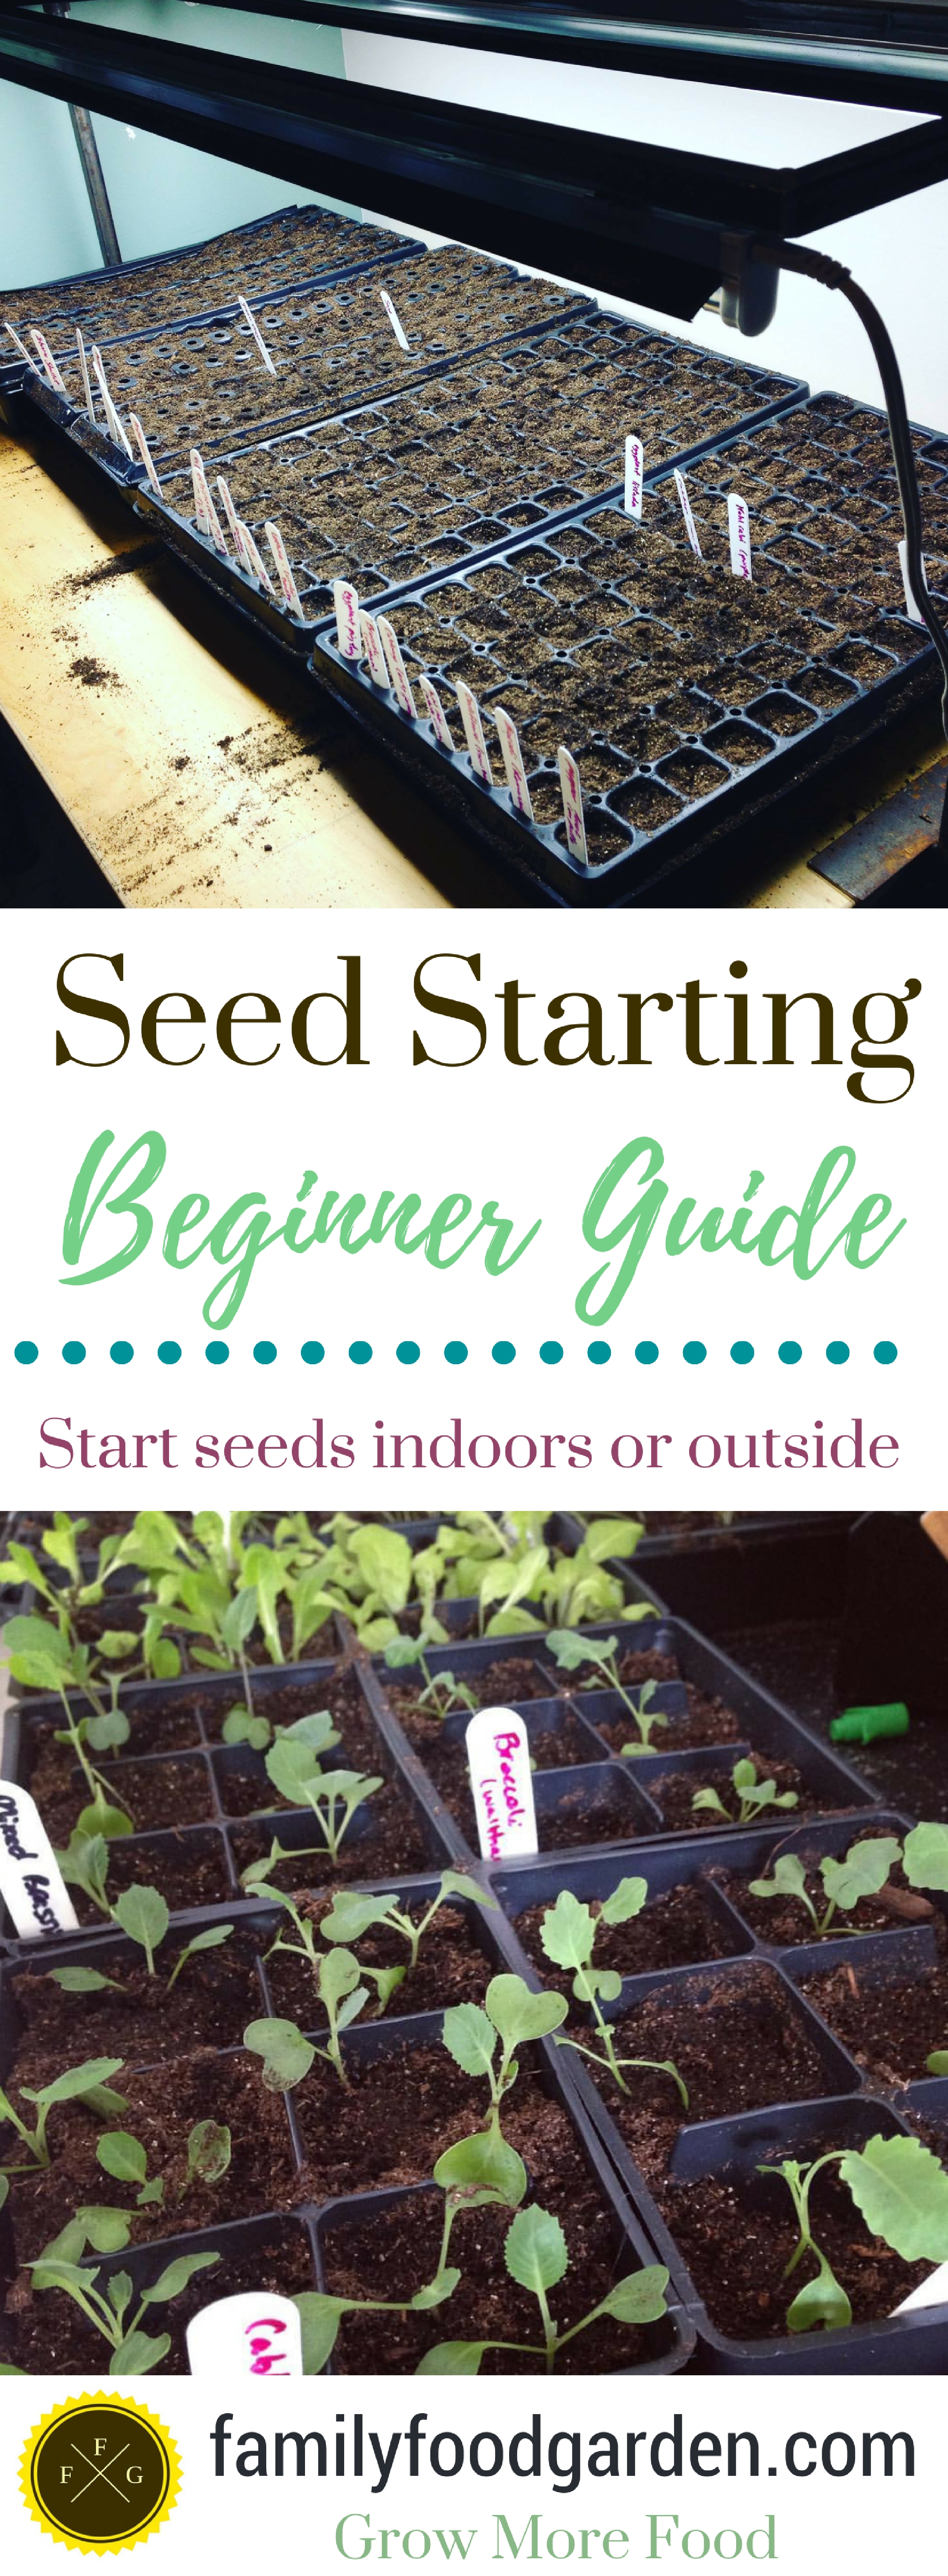
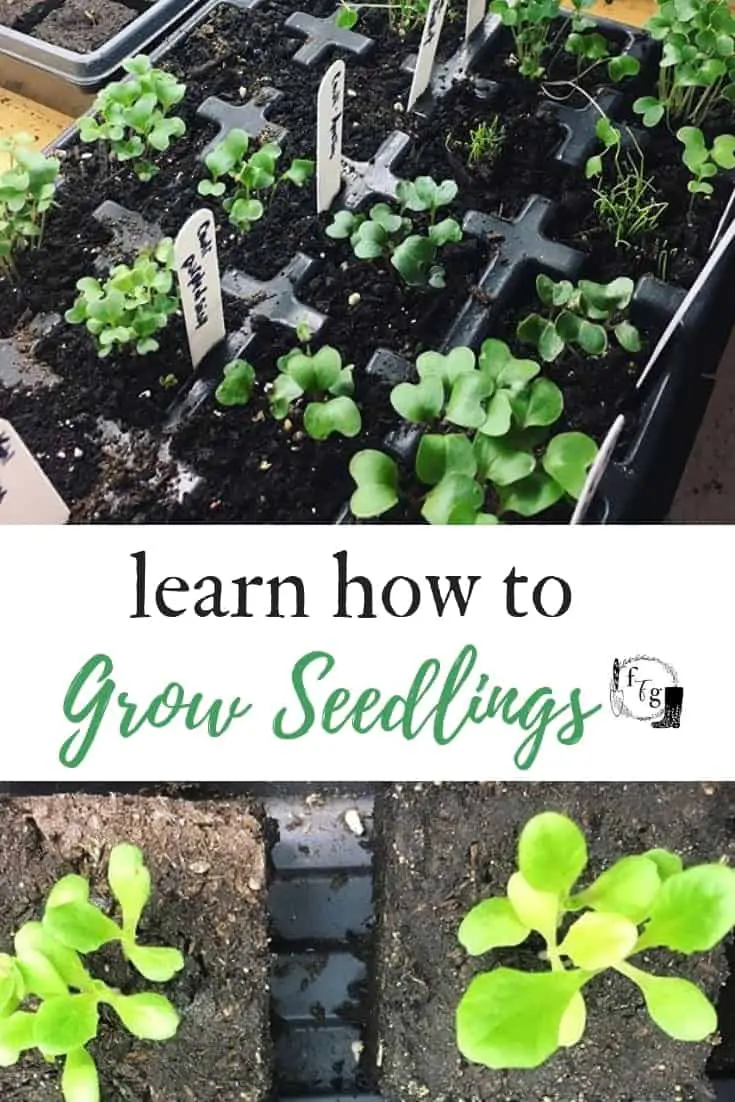
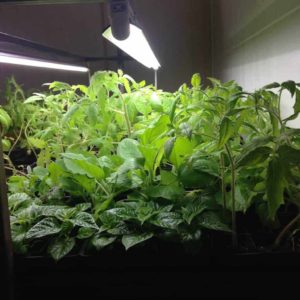
Indoor Seed Starting
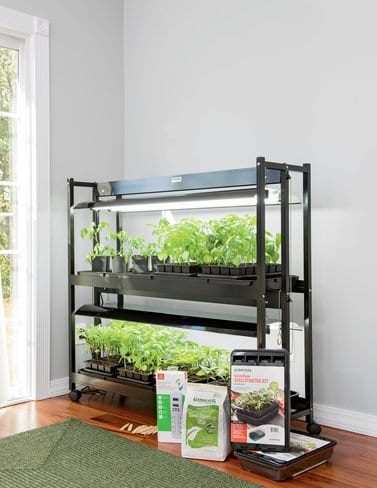
Indoor seed starting kit with LED grow lights & stand from Gardner’s Supply
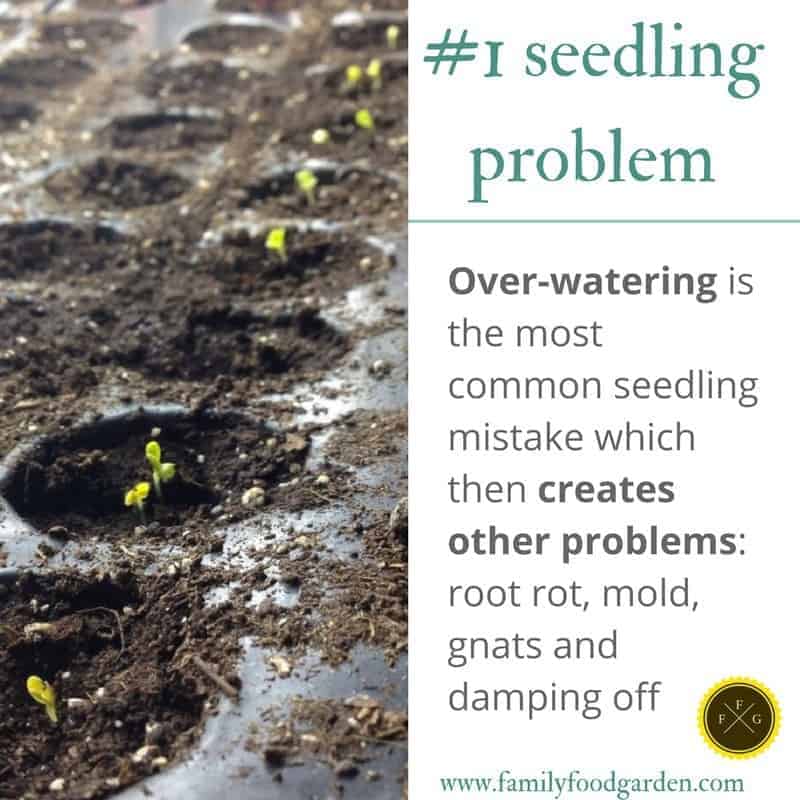
- Make sure there’s plenty of airflow and air circulation. Lack of airflow increases fungal problems like dampening off (which can kill your seedlings in one night; you’ll notice a thin weak stem and a collapsed plant). Adding a fan can help and making sure the door is open.
- Make sure that you disinfect your seeding trays and pots before using them (unless it’s your first year using them from the store) because they could have disease in the soil from the previous year. Use 1 part bleach to 9 parts water.
- Don’t overwater! You want the soil lightly moist but not damp. Too much water promotes fungal problems and an increase in gnats laying eggs there. If you have fungal problems or gnats sprinkle of cinnamon or sand can help, as can watering with a little hydrogen peroxide in it. Cinnamon is also used as a homemade dog urine repellent to keep dogs from urinating in your garden.
- There are some pots and trays where you water from the bottom instead of the top too. Using a spray bottle to water helps to prevent overwatering.
- Some people add domes over there seeding trays to add some humidity and heat to your seedlings. You want the soil moist but you also don’t want it too dry.
- Read each seed packet and know when you need to start your seeds. In general the larger seeds like squash need to be in large pots than a cabbage.
- Buy seed starting mix or make your own soil mix. The key here though is to make sure you’ve heated your DIY soil mix so there’s no disease or pathogen spores etc that could ruin your seedlings. Seed starting mix has nutrients in there for little seeds to grow, so don’t just use potting soil unless you add some fertilizers for the seeds to grow.
- You can use a south facing window or use grow lights (I use Sunblaster).
- Seeds germinate better with warmer soil. As many of us are starting seeds in the winter months, don’t use soil that was sitting in your car for a few days then sow directly into it without it warming up. You can also buy heating mat for under your trays, but I’ve found so long as the room is warm, your seeds will germinate fine. Don’t start your seeds in a garage or cold basement unless there’s added heat and light.
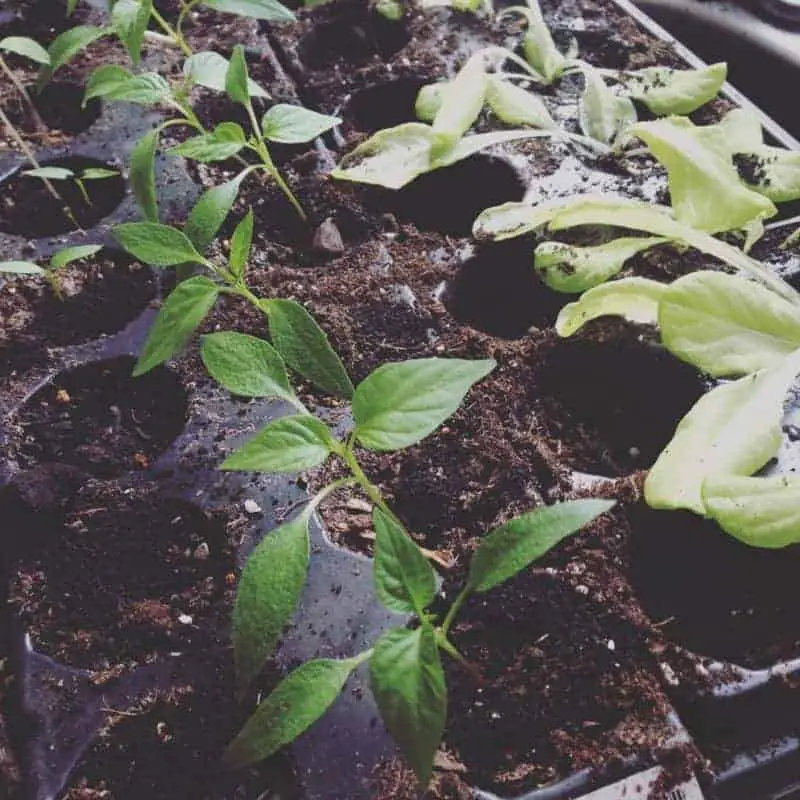
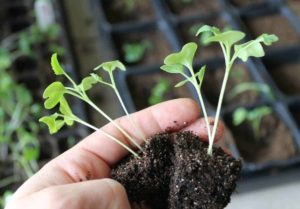
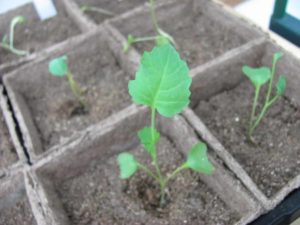
- It helps to sow more than one seed in each section but don’t let them grow for too long together as they need the space. Re-pot them into a larger containers or pinch off any plants that look weaker and grew slower. Less vigor isn’t good for the productive garden!
- Keep your seedlings growing healthy with some homemade compost tea, or buy some fertilizer from the store. Usually a boost every week or 2 suffices. I often use worm castings.
- To avoid your plants getting ‘leggy’ (tall, thin and floppy) it helps to be closer to the light source. If they are thin and tall they are seeking the light! If you’re using grow lights have it lowered and raise it as the seedlings grow. Some people say that brushing your hand over your plants will also help thicken the stem as it ‘simulates’ wind and they will grow stronger in response.
Here’s a detailed post I wrote about fixing seed starting problems like leggy seedlings, gnats & mold.
Do you have any seed starting tips you’d like to add? Any challenges?
I recently started growing plants. Something to do during the lockdown. This blog is really helpful because of its thorough guidelines. I just hope I can successfully grow a plant when this pandemic is over.
I am wanting to grow plants with my students during summer school in a mini greenhouse. Do you have any suggestions for plants that would sprout in two weeks? Is there such a plant?
Great information. Thanks!