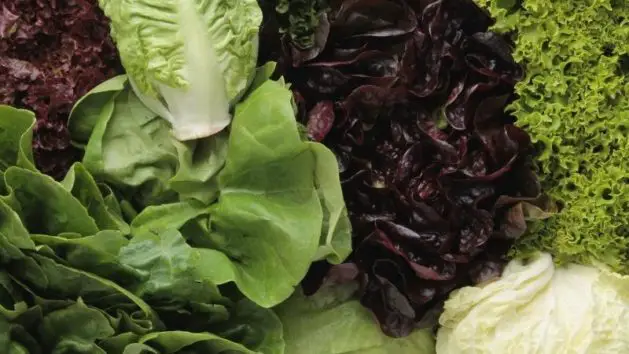
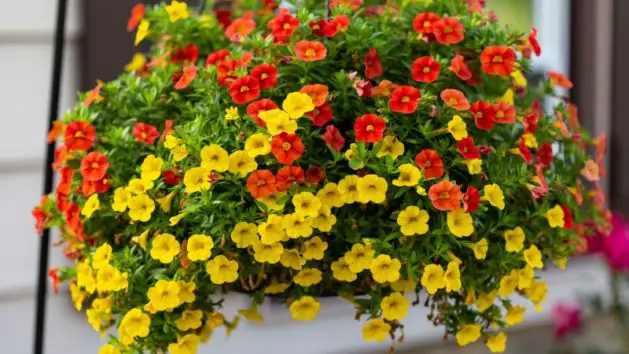
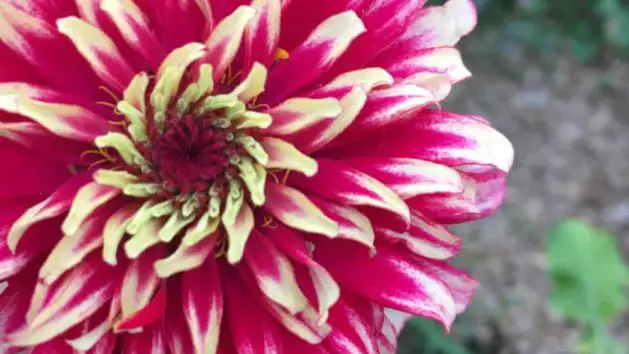
Family Food Garden may collect a share of sales or other compensation from the links on this page.
To harvest good vegetables in winter, you need to take the long view. Start planning the garden in summer. July is the optimal month for people who live in the northern hemisphere. But the first weeks of August are still early enough, especially if you live where winters are mild.
Table of Contents
Doing the homework
You’ll need to plant seedlings and seeds 8-10 weeks before the first frost date, so it’s important to know when that date is expected to be.
Find the frost date for your area by calling the local 4H extension office, or going to the website of your state land college and searching for the frost dates listed there.
You can also find the first frost date by searching FIRST AND LAST FROST DATES and putting in your zip code. Note: this site is for the U.S.
Also, other gardeners in your area may know the first frost date already. You can learn many useful tips from talking to experienced local gardeners.
If you’re looking forward to eating kale, lettuce, Swiss chard, and other leafy greens during the cold months, browse through your seed catalog and choose cold-hardy varieties. It’s surprising how many greens thrive in cold weather.
Then select the cold-hardy crops you want. It’s useless to grow summer vegetables like tomatoes unless you have a greenhouse, and even then it’s risky unless you live in Florida or other Southern states with warmish winters.
Start your fall and winter crops 8-10 weeks before the first frost date. For example, if the first frost is expected in your area in early October, you’ll need to start planting, or start seedlings to transplant later, in mid-July to early August.
You have no longer than two weeks to plant. If you delay planting until five weeks before the first frost, your crops won’t be ready to harvest and will probably need to be protected with some kind of cold frame.
Sit down with a calendar, notebook, and pen, or open a spreadsheet. You’ll need to make notes and keep your own gardening calendar.
Fall and winter crops are planted at the same time. Make categorized lists of the crops you plan to have, root vegetables, leafy greens, cole vegetables, flowers.
Then jot down the planting dates, the dates to transfer seedlings, if any, and the expected harvest dates. You’ll need to know how long each crop takes to mature. Seed packages have the information printed on the backs.
For example, you’ll probably have carrots in the root vegetable category. Let’s say the carrot variety you plant takes 90 days to mature. Now let’s say your date of the first frost is October 1st. Count backward 8 weeks for your carrot planting date: August 1st. Your calendar or spreadsheet might look like this: August 1st-15th, sow carrot seeds. November 30th, start harvesting carrots. (Tip: carrots become sweeter after experiencing frost, so wait for one or two to happen before you pull up those carrots.)
And so on for each crop. Make notes of anything you think you’ll need to remember as the months go on. For example, if you foresee covering leafy greens before hard frosts, make a note to organize the equipment you’ll need by September.
Inspect plant covers such as plastic or bed sheets, and make sure they’re clean and ready for use. Store them in a dry place, rolled up and off the ground to discourage mice from nesting in them.
Do you need to clean tools, chop leaves for mulch, make a cold frame, or repair the greenhouse? Get all the gardening chores out of the way by the end of summer. That way you’ll avoid a last-minute hurry if your garden needs attention fast.
Plan the layout of the vegetable beds
Make an estimate of how much garden space you want for each plant. Draw a plan of the plots, leaving room for space in between where you can stand to water, hoe, and weed.
Plan on rows about 4 feet (1.2 meters) wide.
The keyhole pattern also works well. Make 2 beds about 9.5 feet long (2.9 meters). Connect them by leaving a thin strip of the garden on top.
Plant your beds close to a shed, garage, or the south wall of your home, as a windbreak. The wall will shield the plants from harsh winds and offer added warmth.
Take a walk around your garden and note the places where summer crops are still coming up. You don’t want to uproot a good summer crop, but you’ll need that space later.
There’s a solution: start winter crops indoors.
Start seedlings indoors on the same dates you would sow seeds outdoors. Almost all leafy greens, like chard, Oriental greens, kale, and lettuce can be started indoors.
Transplant them to the garden 6-8 weeks later, just as if they’d been growing outdoors all the while. The summer crops will be finishing then.
You can dig up anything that’s still worthwhile and use the space for winter crop seedlings.
You May Also Like: How Do I Keep My Ferns Over Winter
Crops you can start indoors
Not every plant will succeed in winter, even if started indoors. Summer vegetables like tomatoes and corn are best left for spring and summer harvests.
But for inspiration, here are some plants that you can start indoors and transfer to the garden later. There are many more; find them in a local seed catalog.
Cole season vegetables:
- Broccoli
- Brussels sprouts
- Cabbage
- Cauliflower
Alliums:
- Onions
- Shallots
- Leeks
- Scallions
- Chives (for mild winters only)
Herbs and leafy greens:
- Friseé
- Arugula
- Lettuce
- Swiss chard
- Mustards
- Kale – the king of easy-to-grow winter greens. Kale survives snow and even freezing.
Root vegetables:
- Turnips
- Beets
- Carrots
- Rutabaga
- Parsnips
- Radishes
Transplanting seedlings
If you want to be certain that your plants are grown organically, start them from seed. Consider also that a seed package is far less expensive than buying seedlings, and yields much more.
Plants grown from seed indoors may be transplanted to the garden when they have 3 or 4 true leaves. The very first pair of leaves are not true leaves; they’re there to store nutrients.
True leaves appear after the first pair shows.
Leave a seedling in its container too long, and it will get root-bound. Planting it too early might be too great a shock. Judge its maturity by the appearance of 3 to 4 true leaves.
Remove seedlings and growing plants from plastic containers before putting them into the soil. Left in containers, plants’ roots freeze.
Preparing the soil
Ground drainage is important. If your ground doesn’t drain well, consider making raised beds.
Don’t wait until fall to turn the soil over and add fertilizers. Take time in August to break the soil up and remove the last roots and bits of summer crops.
End-of-summer weeding is an important task when you’re preparing the soil for winter. Don’t put weeds into compost. Weeds are stubborn. Their seeds stay alive and active in compost that you made to enrich the soil, not grow more weeds.
Don’t pile weeds up in a corner. The wind will blow their seeds everywhere. Dig out all weeds that made it through the summer and either trash or burn them, or they’ll pop up again come spring.
Your garden worked hard to produce crops all summer. By fall, the soil might be depleted and will need added nutrients. Dig lots of organic fertilizer into the soil before you plant your cold-weather crops; about 5 inches (13 cm) of compost or other fertilizer.
Use composted manure, rock phosphate, bone meal, rock phosphate, kelp, or alfalfa meal. Or buy an organic fertilizer. Once the soil is cultivated and prepared with fertilizer, you won’t need to fertilize again until spring.
The advantage of digging fertilizer in during late summer is that it will have time to break down and enrich the soil before you plant your winter crops. It will continue to break down during the winter.
Loosen the ground to a depth of 6-8 inches. This effort pays off when the plants have room to push strong roots down and feed off the soil.
If possible, choose an area that gets sun and has some protection from the wind.
Protecting Winter Plants: DIY tips
Mulching is an excellent and cheap way to protect winter crops. Set a thick layer of chopped leaves or straw on the soil surface to reduce the loss of moisture and loss of soil to the wind. Mulch also protects root vegetables from the cold by insulating the soil somewhat. Remove the mulch after all danger of frosts has passed.
If a frost is a forecast, first water the bed lightly. In the late afternoon, get the plant covers that you stored away earlier. Make a tent from old sheets, plastic sheets, or blankets over the beds, with stakes to hold the cover over the plants. It shouldn’t touch the plants themselves.
The cover should be loose, to allow air to circulate. Secure the tent to the ground by placing heavy objects like bricks or rocks on the edges of it. Take the cover off the next day, when the temperature has risen, so that the plants are again exposed to sunlight.
Consider creating a “hotbed” for leafy greens. This is fresh manure mixed with straw dug into a bed. Cover the manure with soil and compost, 50-50%. The rotting manure creates heat, warming the soil. Make the “hotbed” a week or two before planting to give it time to work.
Empty 2-liter milk and soda bottles make cloches to cover individual plants and help them retain warmth. Cut the bottom half away and remove the cap to allow ventilation. Set the bottle over the plant. The bottle will let light in and self-ventilate, but you must check the plant inside regularly to prevent it from growing leggy or simply outgrowing the cloche.
You can buy glass or plastic cloches at nurseries, but no matter what kind of cloche you use, be aware that cloches must be installed firmly to prevent them from toppling over or blowing away.
A greenhouse obviously is a good choice for protecting leafy greens and plants that are cold-hardy but won’t withstand hard frosts. If you have extensive beds that will need covering, consider tunnel rows. You can buy tunnel kits at plant nurseries, or make your own with metal hoops and plastic row covers.
Care of The Winter Garden
Winter crops don’t need nearly as much water as warm-weather crops, but they still need moisture. Let the soil dry out between waterings. Poke a finger into the soil and judge if it’s dry down to one inch. If so, water the bed.
In the same way, cold-hardy plants grow through the winter but still need light. If a crop is drooping after several cloudy days, you will need one or more grow lights to supply light.
Plant nurseries and gardening centers sell grow lights. Judge if you need one or more according to the size of your garden.
If you worked the soil and fertilized before planting winter crops, you won’t need to fertilize again. Plants need fewer nutrients over winter than in summer.
Stop watering 1-3 days before you plan to harvest your crop. The soil should be dry, but the plants shouldn’t be parched.
Finally, make notes for future winter crops. Decide which crops did worst and best in your garden over the cold season. You might want to replace a certain vegetable with a different one. If you’re pleased with your harvests, extend the season next winter by planting varieties that mature earlier, or later.
Would you have liked a bigger crop of beets, onions, or carrots? Make a note to extend the bed next year. Or did you over-plant another vegetable and couldn’t get rid of it fast enough? Note that down too.
Notice if the plants could have been better for more space between them, or if their placement was fine. Jot down the ones that needed more, or less watering, to adjust the watering schedule next year.
Note dates: for example, the date onions were ready to harvest. In other words, write down every detail that will affect your decisions when you plan your next winter garden.
You May Also Like: Winter Gardening for Beginners
My name is Isis Loran, creator of the Family Food Garden. I’ve been gardening for over 10 years now and push the limits of our zone 5 climates. I love growing heirlooms & experimenting with hundreds of varieties, season extending, crunchy homesteading and permaculture.
Hello, I found your article on how to winterize a garden really helpful..thanks, Richard
Sparkling writing!! Thanks buddy for such a great information!!