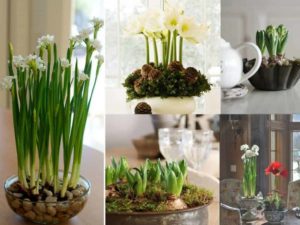
 Indoor Gardening Infographics inspire you to have an indoor garden.
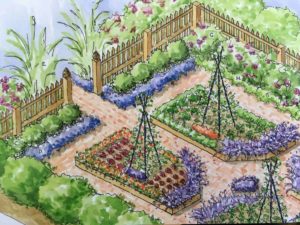
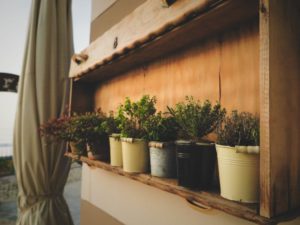
I wish everyone could have a small piece of land, a sunny balcony or a community garden plot but the truth is there are too many humans to make that possible. Today I wanted to share these awesome infographics to inspire you to grow food no matter where you live!
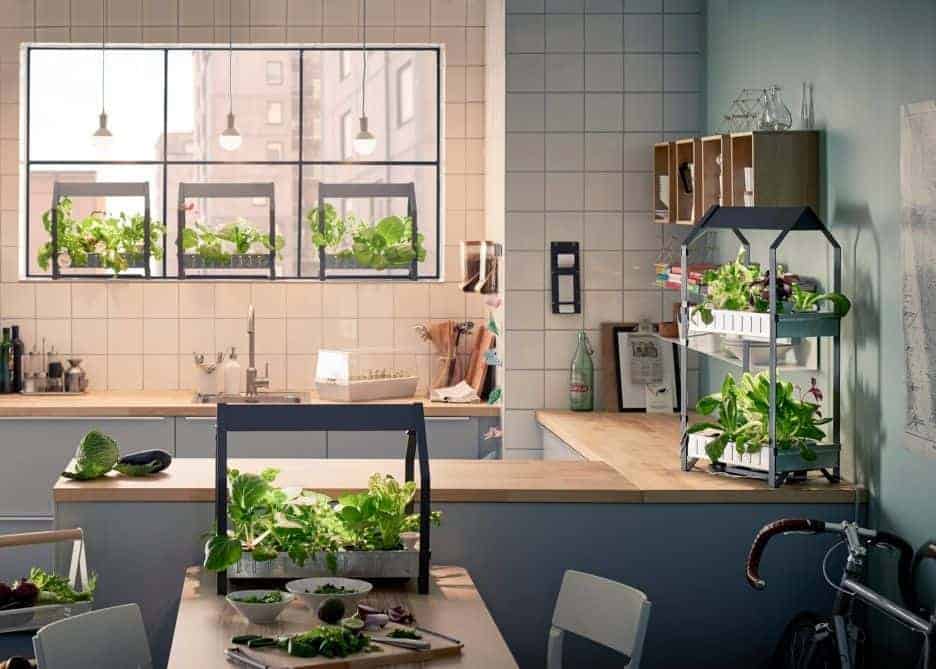
Also be sure to check out these awesome indoor garden ideas and these indoor herb garden kits. I’ve also got some tips if you want to grow indoor microgreens or an indoor herb container garden.

Source: Fix.com Blog
Below, we’ve transcribed the text from the infographic above.
Indoor Gardening Ideas and Tips
Plants in Small Spaces
Low Maintenance, Indoor Edibles
Easy-to-Grow Indoor Plants
Carrots
- Plant the seeds 1 inch apart in a deep container with fertile soil
- If you plant several rows of carrots, be careful not to crowd the fragile roots
- Keep the soil moist, but not drenched
- Seeds will germinate in a few weeks
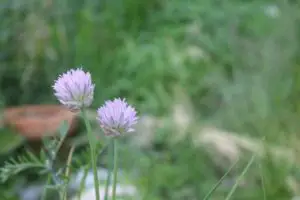
Herbs
- Most herbs grow well indoors
- Start from seed in a shallow container placed on your windowsill
- Water well but don’t overdo it
- Make sure there’s plenty of natural air circulating so the plants can breathe
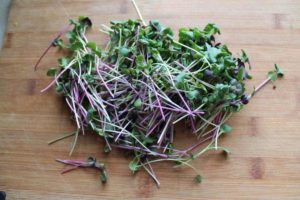
Leafy Greens
- Scatter seedlings in plastic berry containers lined with several layers of moist paper towels
- Place in a dark brown paper bag in a dark area of the home
- Spray with water occasionally to maintain a moist environment
- When the seedlings are about 1 inch tall, remove them from the bag and relocate to a lighter area, but not in direct sunlight
- Harvest the greens when they reach 2 to 3 inches
Potatoes
- Place sprouted potatoes, root side down, in a deep container or grow bag (which allows for more air circulation)
- Leave plenty of room on top for additional soil and compost as the potatoes grow
- Harvest after about 10 weeks
Sprouts
- Place seeds in jam jars capped with muslin lid or sprouting bag and cover with a few inches of water
- Soak seeds for 8–12 hours (depends on the seed)
- Drain and rinse seeds, washing them every 8 hours
- Remove from jar when seeds are big enough (depends on the seed)
- Place in a large bowl of cool water
- Break up mass of sprouts letting hulls drift from sprouts (repeat depending on seed)
- Put the sprouts in a plastic or glass container lined with paper towels to dry
Planters That Come Straight From Your Kitchen
- Jars
- Tea tins
- Coffee cans
- Bread pans
- Colanders
- Tea kettles
- Muffin tins
How to Sew a Grow Bag
Grow bags:
- Are flexible, which allows you to squeeze them into tight spaces (some rigid containers may not fit)
- Make it easier to feel if potatoes or other root vegetables are ready to harvest
- Are often less expensive than other containers their size
- Are relatively easy to move to another location (especially if they have handles)
Materials:
Weed-shield landscape fabric, nylon sewing thread
- Fold the material in half and sew the bottom and the side to create a bag
- Fold the corners of the bag and secure them. Draw two lines to create an inner square. If your bag is one square foot, the inner square should be 12 by 12 inches
- Sew along the corner lines
- Finish the top of the bag by folding over and stitching around
- Before planting, turn bags right side out